Building
Step-by-step assembly guides
By the end of this page you'll know how these assembly guides are structured, and be ready to follow the one for your specific box.
Each assembly guide is broken into small steps — clip, clean, dry-fit, glue — with a photo for every step and a rough time estimate. That's deliberate: this hobby is much less intimidating in small chunks than as one long instruction sheet.
The general build sequence
- 01
Step 1
Find your parts
Check the instruction sheet in the box and locate the sprue(s) for the model you're building. Sprues are the plastic frames the parts are attached to — nothing is cut free yet.
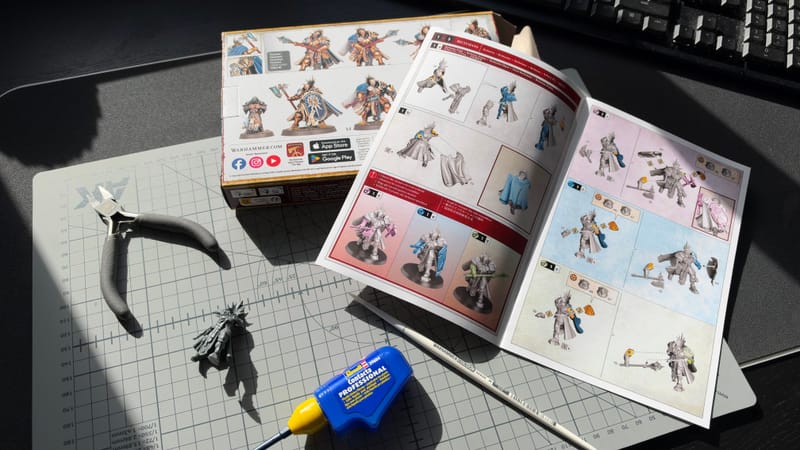
Building my Reclusians: instructions open, parts clipped as I go. - 02
Step 2
Clip each part free
Cut close to the sprue, not close to the model — you can trim the small leftover nub afterwards, but you can't put plastic back once you've cut into the model itself.
Photo coming soonClipping a part from the sprue - 03
Step 3
Clean up mould lines
Run a hobby knife or file gently along the raised seam line left by the mould. A light scraping motion is safer than trying to slice it off in one go.
- 04
Step 4
Dry-fit before you glue
Hold the parts together without glue first. This is where you catch parts that don't quite meet, before glue makes them permanent. See Common mistakes for the gaps I ended up with.
- 05
Step 5
Glue and hold
A thin line of plastic glue on one surface, press together, and hold for 10–20 seconds. Less glue than you think you need is usually the right amount.
Photo coming soonGluing two parts together, held in place


Once your models are built, move on to basing your models, or jump ahead to learning the rules while your glue fully cures.